Leaking oil onto the heat exchangers made driving this Bus almost impossible and dangerous here we rebuild on a budget
Air Cooled engine repair – Lenoir gets rebuilt
After driving Lenoir for 30 miles we quickly realised the oil leaks were fairly advanced and bad. A quick inspection shows the pushrod tubes needed replacing and to do this with original parts means cylinder heads off at least.
So out with the engine – this is fairly easy in a Splittie;
- Rear Bumper, splash pans and then rear valence off
- Disconnect generator, carburettor, coil and oil pressure wires and stow
- Disconnect throttle cable, fuel line and push through the rear most tin
- Take off carb top piece, rubber snorkel and breather tube to air filter
- Heater cables detach from heater boxes
- Support the engine now on a jack
- Top 2 bolts are the most tricky due to access
- Bottom 2 nuts are easy and the engine could come back now off the gearbox
Engine dismantling, its analysis and re-assembly is best left to the manuals and the best book we found was ‘How to Rebuild Your Volkswagen Air-cooled Engine’ by Tom Wilson;

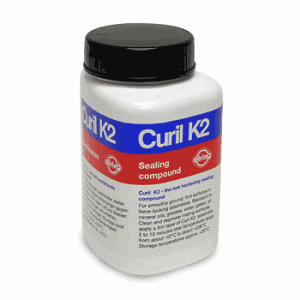
We use Curil K2 on the joint surfaces for its resistance to temperature and non hardening sealing properties – well known in air cooled forums and builders;
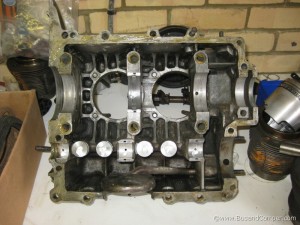
So, with our H5 cased engine apart, cleaned and inspected what did we find? Immediately obvious were the lifters and camshaft were showing wear beyond service so these were replaced. The saddles on the case were not hammered and passed the finger nail test. Here we see Curil on the sealing surfaces, white grease on the new lifters, cam bearings and main bearing half;
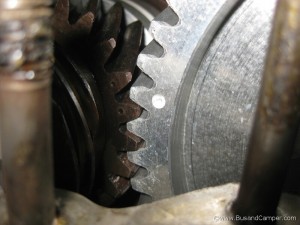
Making sure the new 3 rivet early camshaft was correctly aligned to the crank gear;
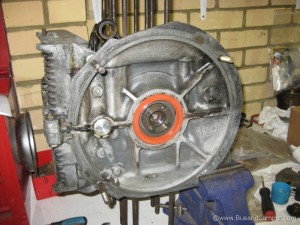
The cases together, just visible are the lifter clips holding them in place while we mated the 2 halves, this pic was taken after we’d torqued the 2 sides together with more Curil under the main nuts, re-shimmed the flywheel, new red Elring flywheel seal, bugpack cam plug;
Front pulley tin and pulley on, flywheel also in place, 200mm and within service spec, 009 in place from early on, oil pump was within spec, so we flattened the cover and re-sealed with Curil, now we’re ready for the pistons and cylinders, which although used were relatively fresh and well within tolerance with excellent ring gaps;
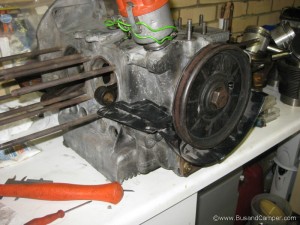
Cylinder heads had their valves reground and cleaned up, threads cleaned, and rocker arms apart for cleaning. Here we have the cylinder heads installed, new pushrod tubes and soft rubber seals, dont forget those deflector plates. Torque heads to 25lb/ft;
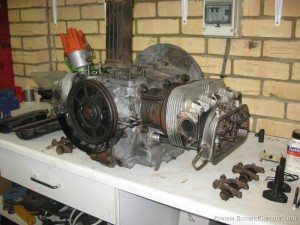
Getting ready with the cooling tin, generator, new fuel pump, inlet manifold correct, and a cleaned re-gasketed 30 PICT 3. Not far off finished to go in the Van;
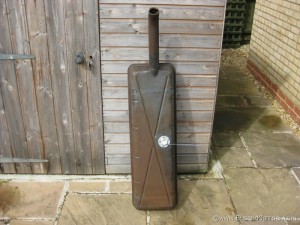
Before the engine goes back in we pulled the petrol tank, flushed it out, sprayed in rust converter and then installed a new level sensor and on the underside a new gauze screen and return pipe and finally a new cork gasket and rubber neck seal on the filler neck;
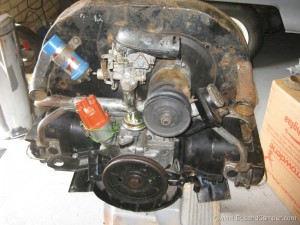
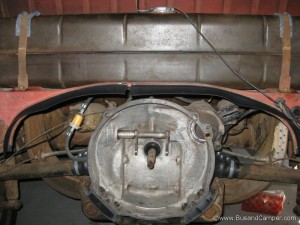
Engine bay ready to take the engine, cleaned up bell housing, new fuel line and filter, new rubber gearbox boots the nice German ones, stater bush checked and lubed, release bearing needs fitting, new rubber seal, grommets for the wiring, petrol tank securely fastened with padding;
Next up will be the fitted engine..New exhaust, heater tubes all hooked up, preheat, new plug wires, snorkel for the air filter, correct tin and seals;
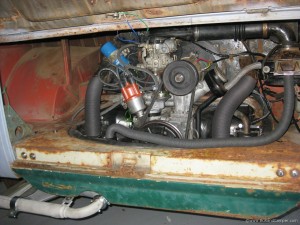
And here it is running, fired up pretty much first time and without any adjustment to timing. We run it up to temperature and then let it cool before checking it over for leaks etc especially around the exhaust and inlet manifold. A stethoscope will help here to track down the hissing sounds on the intake – but as we used all new crush gaskets the chances of this a re low. All is well.
Job done well, did not break the bank and should last a good long time without leaking.