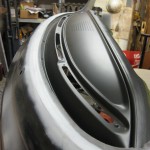
Here we detail the crucial stage of wleding the nose panel onto our Bay project Havasu
Part 4 – reproduction nose prepped and welded on
Reproduction nose panels are mass produced in Brazil and need a fair amount of work to fit an earlybay Bus, here we detail what mods we performed and how we made our panel fit our Bus.
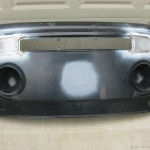
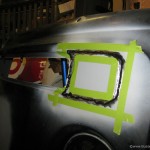
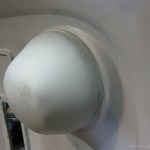
We listed the differences in an earlier post, the mods we made to this nose were to fill in the later indicator holes, essentially flatten the small raised section for the front badge and put drip sealant around the headlights. Randy our genius sheetmetal worker used an English wheel to make the subtle curve that would replace the badge plinth. All we have to do to finish that transformation is to drill the 6mm holes in the right place. Initially we left the back of the inciator housings in place but eventually these too would have to be removed. Modern 3M panel bonding adheisive was used to make the indicator panels as strong as possible.
 .
. .
.
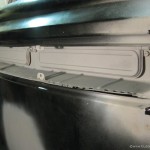
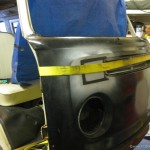
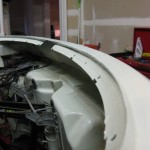
From here on in there were lots of trial fitting and measuring, the majopr challenge was getting the nose to fit tight enough around the airbox to allow the flanges to be dressed over the a-pillars. First to go were the buckets around the back of the indicators, the flanges on the airbox mount and then steadily more and more of the detail around the lower airbox opening. The final push came with some help of a large ratchet strap to get the best possible fit.
 .
. .
.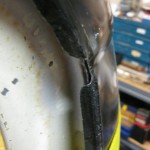
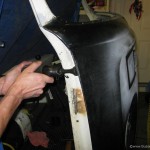
With the strap in place we could air hammer or fold the flanges over, but before we welded anything it was time to check windscreen and doors woudl also like the new nose and have the right dimensions and gaps. A mistake here would mean lots of re-work. Measure twice weld once. The doors would show us the panel at the bottom just below the headlight bucket was not right. However as the windscreen was good the window bed was plug welded to hold everything in place. Time to push out a little on the bottom, so armed with an basketball we pushed it behind the new nose and lower scuttle and inflated until everything started to line up to allow some cleco pins to hold it.
 .
.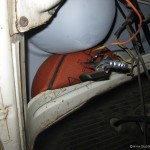 .
.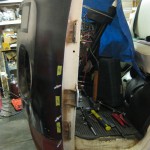
With the flanges now air hammered folded over, time to tack weld the flanges behind the doors like the factory and then start lining up on the bottom corner of the windscreen bed.
 .
.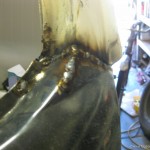 .
.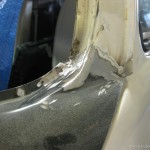
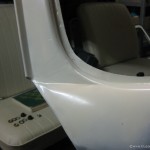
This is the finished result up top – the welds were cleaned up, primered and then seam sealer used to keep the moisture from getting in again. A quick dusting with a rattle can in the correct L90D pastel white and we’re good to start tackling the bottom section. A trial fit with the freshly detailed dash confirms evertyhing still fits up there. Time to get to this stage is approx 30 hours.
 .
. .
.