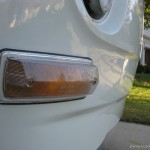
Adapting repair panels and painting the new nose on our Bay
Part 5 – lower outer valence to finish then paint
In the final part of our series of blogs we cover how the current repair panels do not have the frames for the lower indicators that epitomise the styling of our 1971 Bay window.
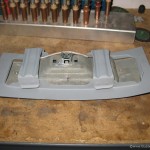
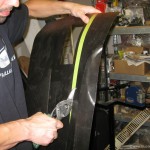
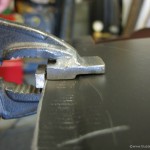
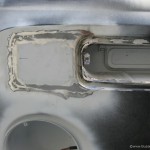
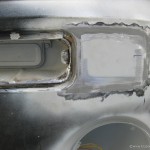
The repair panel we used was another klokkerholm delight – 211 805 036 but although the holes for the indicators were present the frames that hold the lights were not – we have to use the old frames, so on the old nose we chose to cut off the indicators and surrounding metal flange as a strenghtener to the back of the new repair panel. Randy our genius welder and fabricator then worked out the height to make the cut off along the width of the repair panel and snipped off a good section down to the more flat area under the nose bulge feature. To make the joddle joint to the upper panel Randy used his personally modified vise pliers to make the step.
 .
. .
.
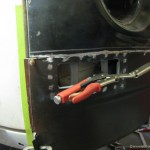
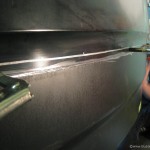
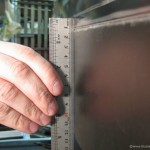
With the frames welded in place and lots of rust converting primer and seam sealer to the cable entry points, and the inner joints to the a-pillar we’re ready to weld the lower panel. Randy worked out the centre line, cleco pinned the panel and then traced a line on the upper nose panel that would also need a shave too – this one performed with a thin cut off wheel, a steady hand and some good measurement lines. With both parts now ready comes the critical part – the right profile on the low panel to match the top AND flush without a gap or bulge. A single cleco holding the middle and outer edges with clamps in the lower corner flange, Randy checks how flush the panels are.
 .
. .
.
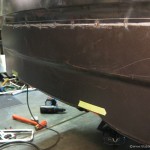
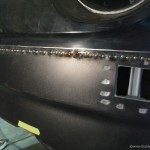
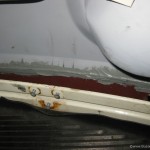
One final check with the indicator housing and to make sure the new panel reaches the inner flange from underneath, we’re good to start welding. Randy then starts tacking the panel in place using lots of time and jumping to different spots so as not to let the heat distort the joint too much. A seam weld is eventually achieved, the flanges were rolled over on the lower a pillar and the very bottom flange is in place. Seam sealer and drip check on the rear side helps keep the moisture out of the joint.
 .
. .
.
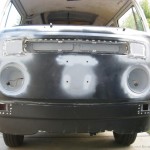
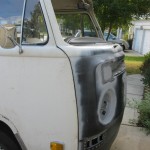
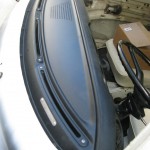
Some tidying up underneath with some more smaller repair panels and we’re about finsihed with the nose replacement. The dashboard top was stripped and repainted at this time, along with the vent covers. The dashboard and wiring were put back together and the doors mounted. Here is the finished result before we had the window fitted and painted the front end. Total time approx 60 hours with a high level of skill and tools required.
 .
. .
.
 .
. .
.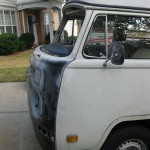
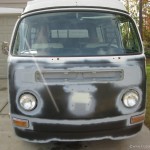
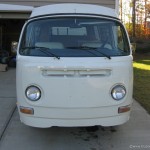
Off to the painters, we chose just to paint the nose panel to seal against the elements and to show how good the finish is on the welding. Good work Randy and the boys.
 .
. .
.