If you find pop rivets and sheet aluminium on a VW Camper something aint right
VW Camper restoration – lets look at the nose of our Bus Havasu
So having jumped in and driven over 3000 miles across and America and in and around the Smoky Mountains a closer inspection is required to the rust condition of our VW Camper… Oh dear
The front nose on a Bay window is a single skin, albeit with a lot more re-inforcement in the lower chassis legs and inner and outer valence, the strenght in this area is substantially more than an earlier splitscreen that it replaced. That said some of the design of the lower section does not lend itself toward draining water effectively and there are a few water traps that can lead to rusted out lower valences. This area is common on Bay windows and if you see a front window seal that has rust under it – then also suspect the lower nose area too.
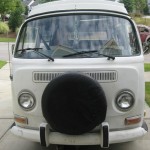
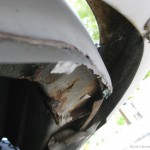
Looking at our Arizona Bus we think we started with something that is presentable – albeit from a distance, underneath the front of the nose there is some very suspicious things – thin aluminium and pop rivets.
 .
. .
.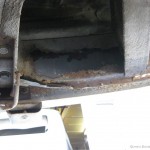
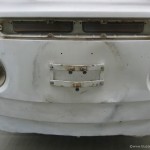
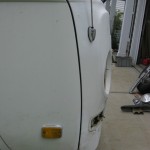
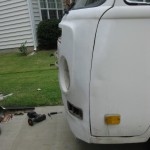
This is not looking good, so we start to strip down the nose area, taking the spare tyre off the front – this is a popular modification on Bays to give more living space in the rear sleeping area, but VW never designed the single skin nose to carry that sort of weight and panel distortion is usually a result. Here we see the front air grille off revealing the ventilation flaps – this area looks good – sometimes this is a rust area on non dry country Buses like the UK. There is some distortion to the nose skin from that tyre and that bracket looks industrial too. Lights off and indicators off at this point. From the side we see some door gap issues on the left side – this indicates the nose has taken a bump maybe;
 .
. .
.
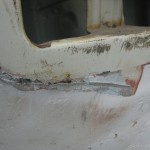
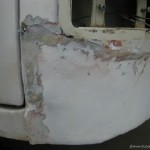
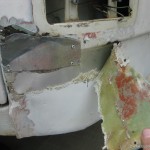
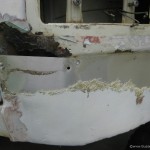
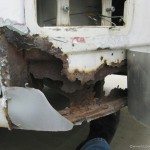
Taking a paint 3M abrasive wheel we wanted to see a little more, so exploring around the filler or bondo cracks underneath the right side indicator we see a story emerging. We’ll let the pictures do the talking here;
 .
. .
.
 .
. .
.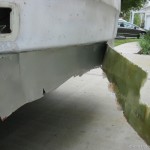
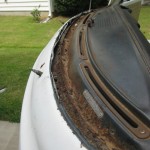
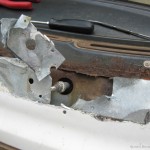
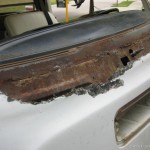
OK, so we have a lower nose repair to do at the very least, an inner panel and an outer panel. But what else is required? Turning our attention as to how the lower valence got so much water in it we look around the windscreen area and start to see some real bondo work here too. Quickest way to remove a window if you’re replacing the window rubber, which is almost every time in a restoration, is to stanley knife the rubber along the window edge and lift the window clear. Our window was deeply scratched anyway from when the wiper blade fell off so its up for replacement.
 .
. .
.
In summary we have some fairly major repair to do on this Van, the rust around the lower window bed could be repaired in a lightly rusted situation but there is very little steel left on this bus, couple this with the damage from the spare wheel and the lower nose rust is suggesting we replace major components of the nose. Availability of nose panels is easy for later Bays with the higher up indicators but earlybay repair panels are unusual and a complete nose skin is not available – only by modifying a late nose to be early would this repair be achieved. Not for everyone this type of repair – many hours and attention to detail, plus an large helping of skill is involved to get to look right.
If you’re looking at a Bus for sale in this condition – walk away unless it is a bargain and you have plenty of time to sink into the repair.